Cloud playlists enable you to manage the order, duration and scheduling of the content appearing on your digital signage. A significant benefit of using a cloud playlist is once the playlist has been deployed to your sign, any new changes made in your playlist will be automatically updated on your sign. You may include many different content formats to your playlist. We recommend using single images in JPEG or PNG format.
![]() To create a new playlist click the
To create a new playlist click the
[+ New] button (upper right of screen) and a pull down menu will appear. Select Playlist.
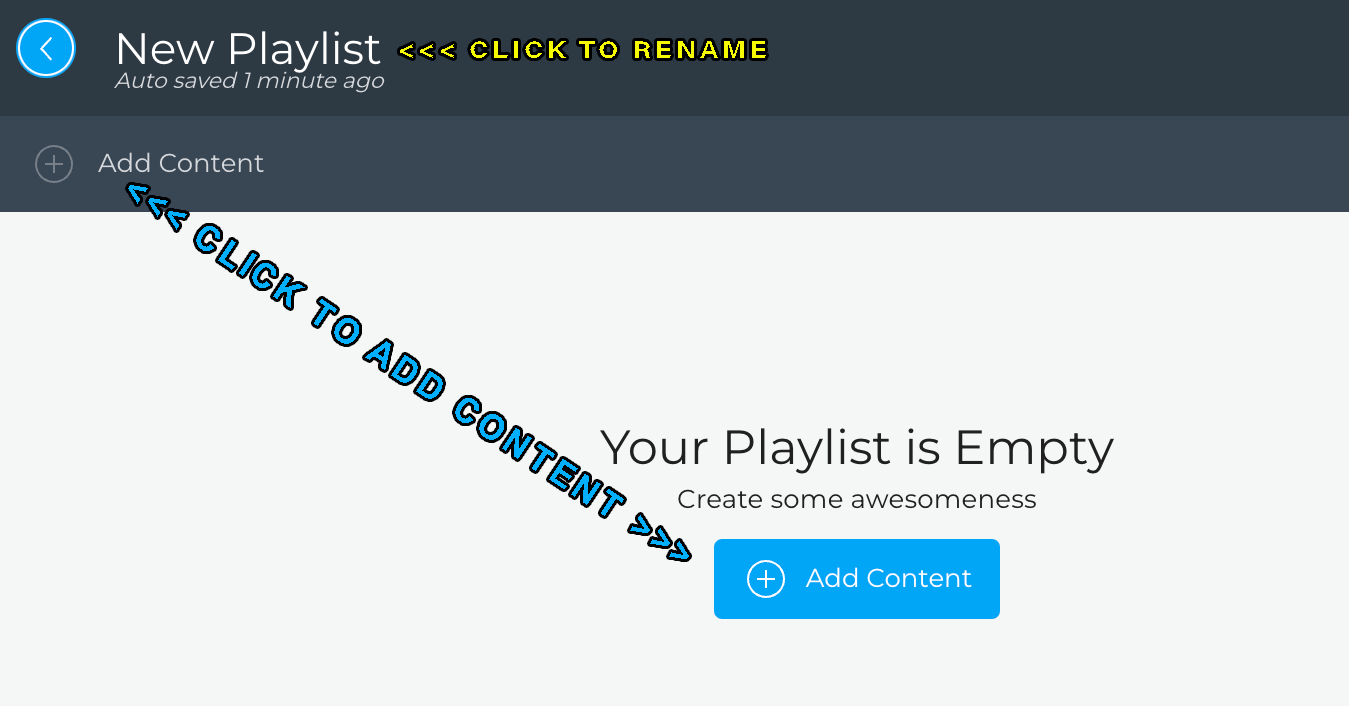
Click the name of the playlist to rename it. Click [+ . You may select and add more than one item at a time.
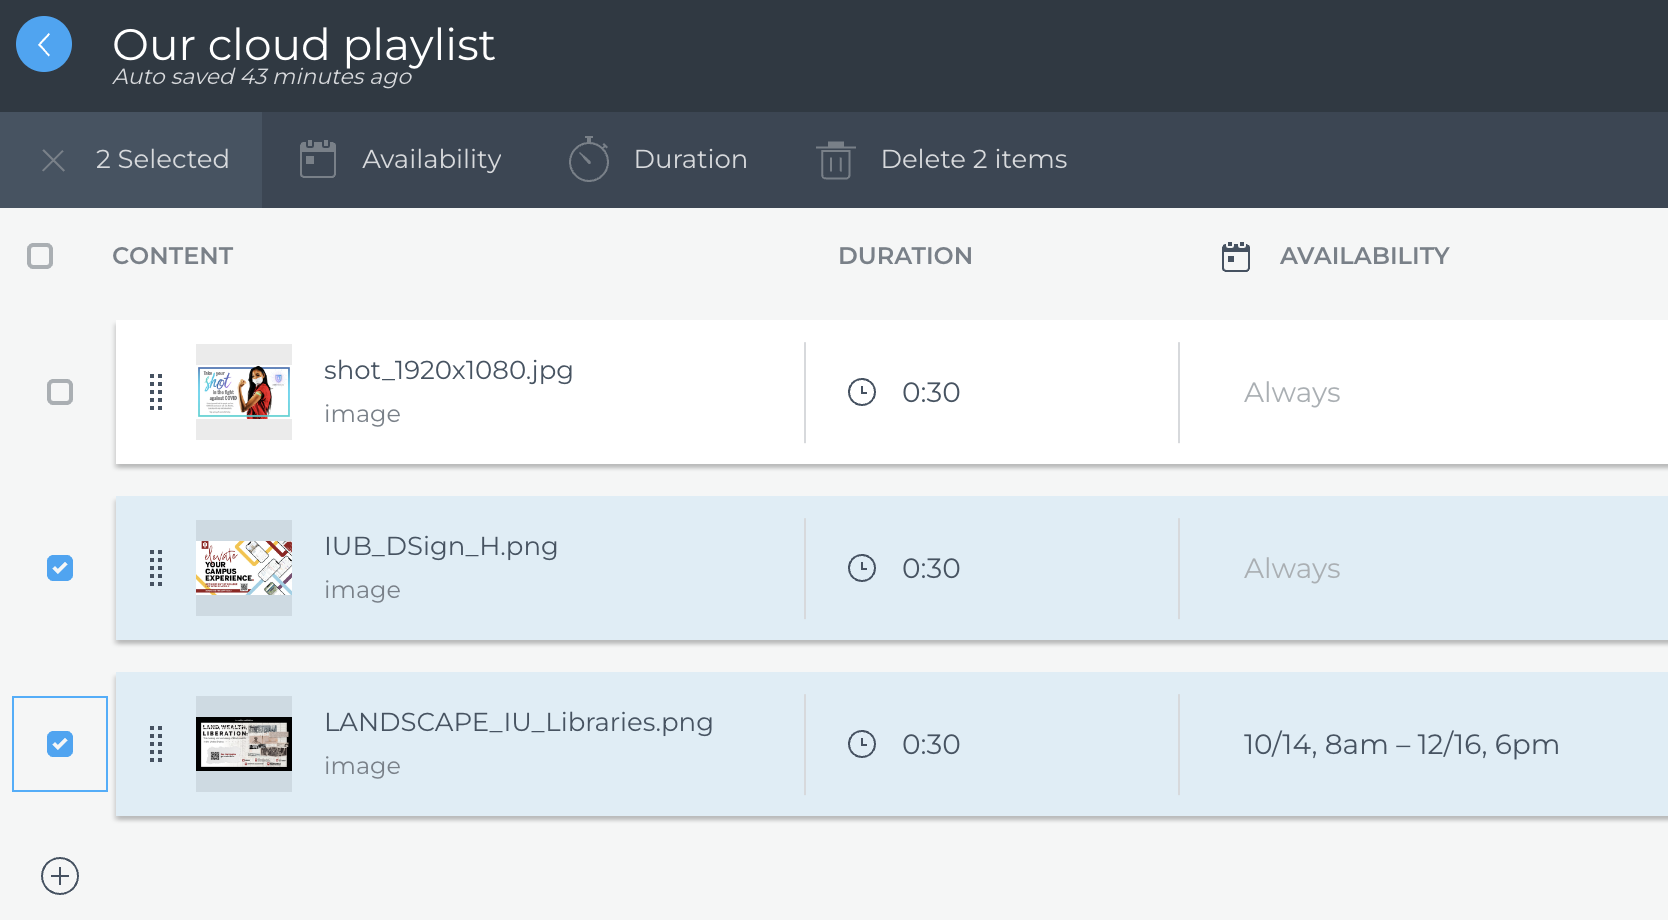
Modify the durations of any content and schedule their availability if desired.
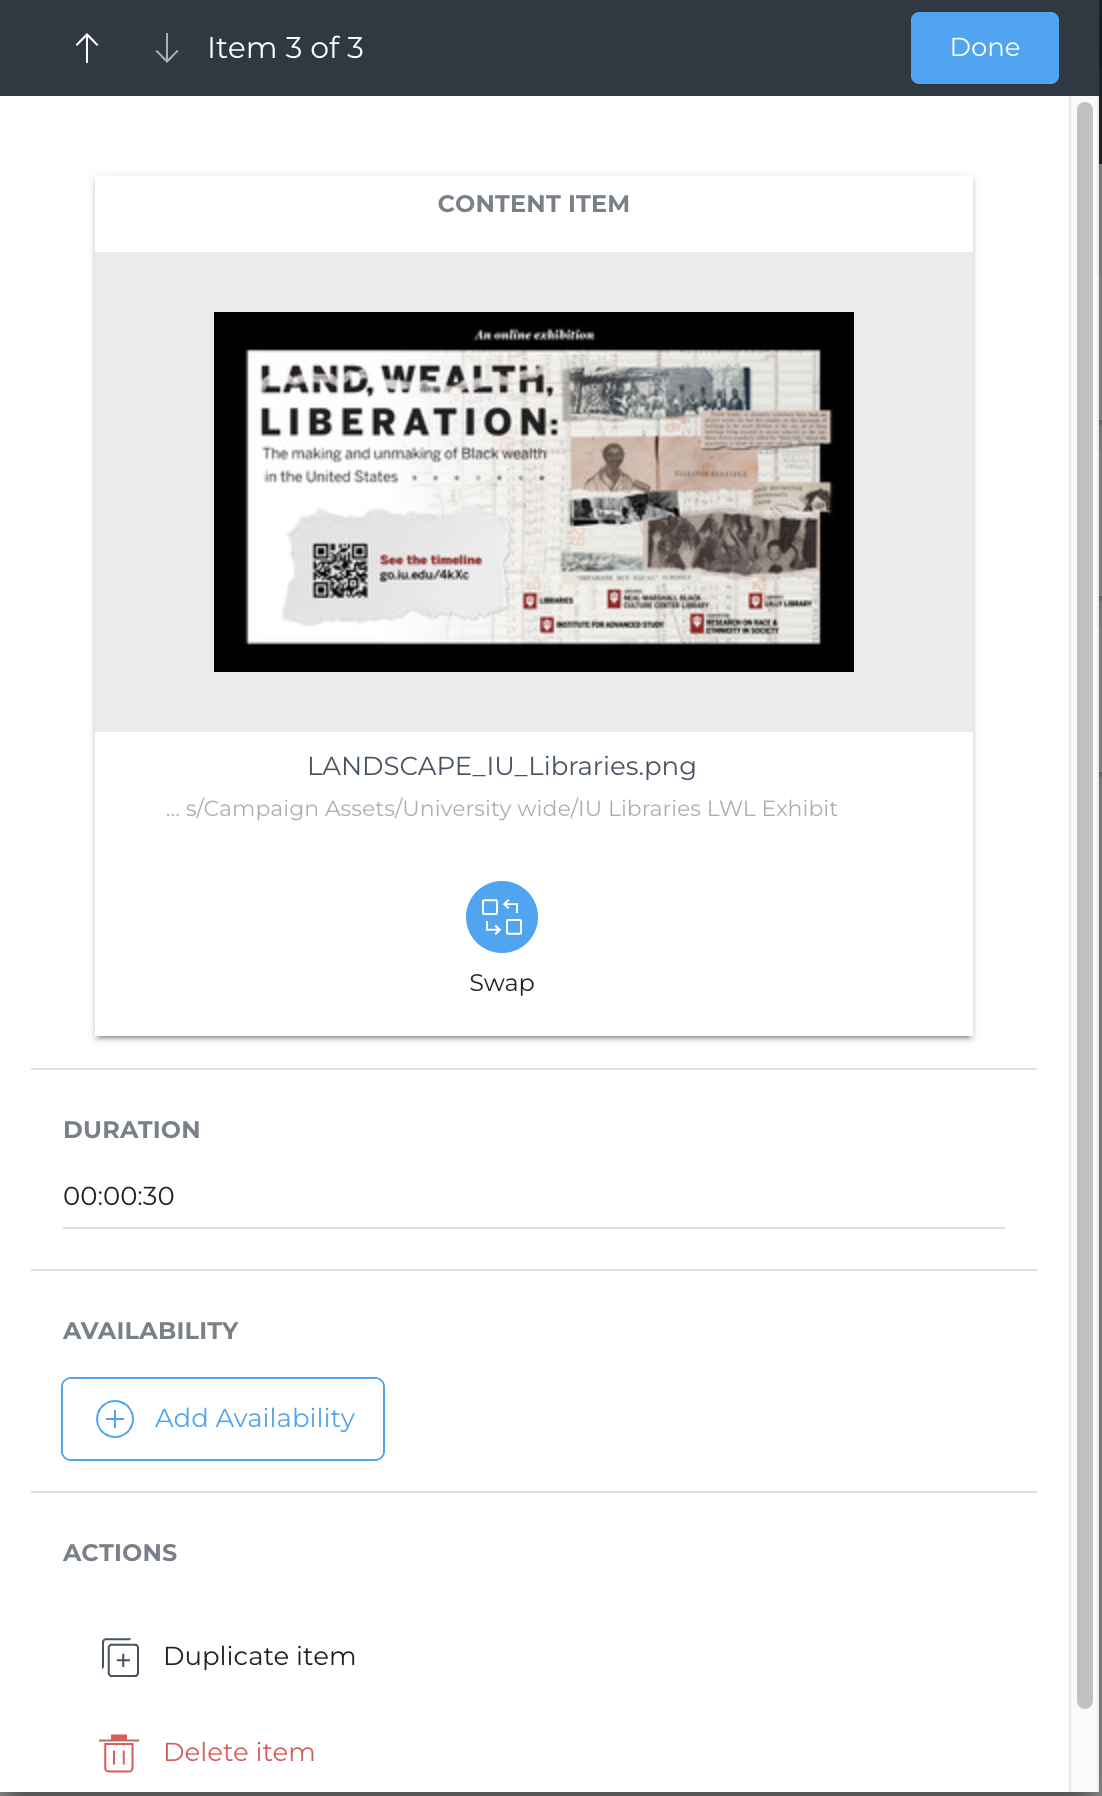
You can modify an individual piece of content by clicking on its name. In the following dialogue you can duplicate, delete or adjust the properties of that item.
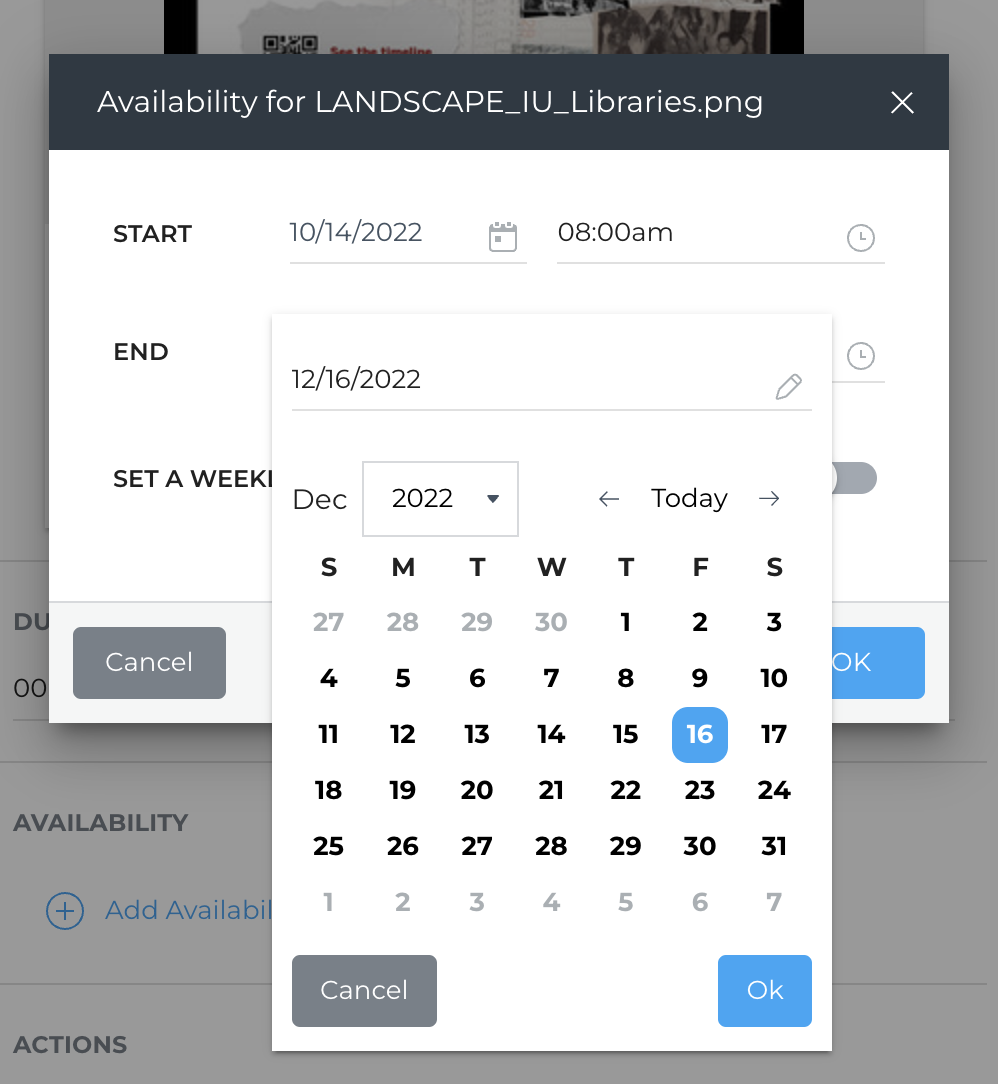
Click the [+ Add Availability] button to open and adjust the scheduling properties for the item.
One of the most beneficial features of a cloud playlist is auto publishing, which enables sign managers to more easily and conveniently update their digital signage. Any modifications made to the cloud playlist will be automatically reflected on their devices. Only one deployment of the cloud playlist from Content Manager Web is needed to enable the automatic publishing solution. Note: For sign mangers who have been using previous versions of the system, managing content updates via cloud playlists will be a welcome change compared to the previous methods.
After you build the playlist, 2 important actions are needed to make it available to your digital signage:
1. Click the Publish button in the upper right corner of the playlist dialogue.
2. Open the properties of the cloud playlist (click the small arrow below the [Publish] button to reveal) and click on the [switch in the sidebar parameters dialogue.
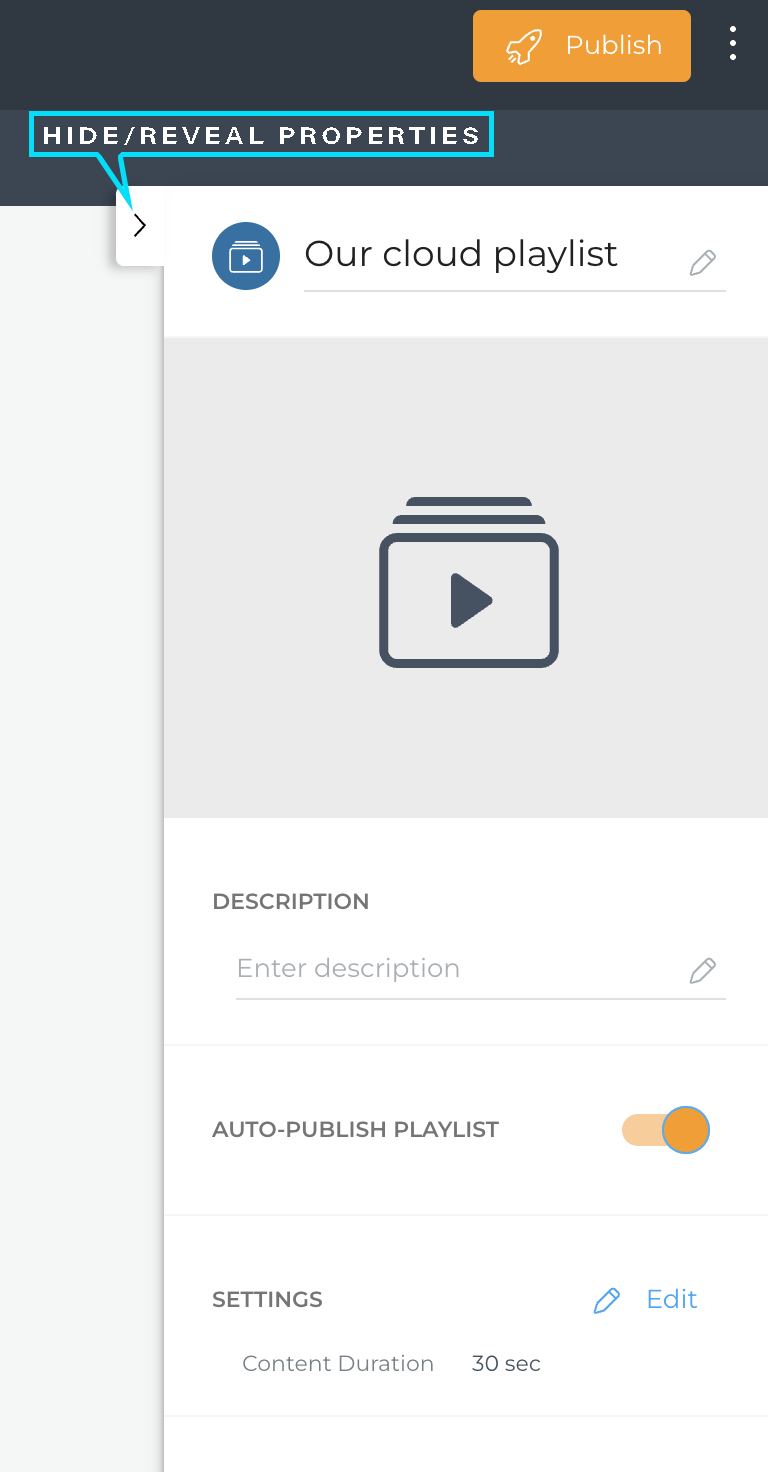
Your new playlist is now available to the system, but a few more actions are need to get the content displaying on your signage.
- Open Content Manager Web, navigate to your content repository and create a new content feed item. Note: To avoid permissions errors, select your unit's folder before attempting to create new content or sub folders ("categories").
- In the Content Feed properties window, click on the first button on the 'Location' field which looks like a folder with 3 dots.
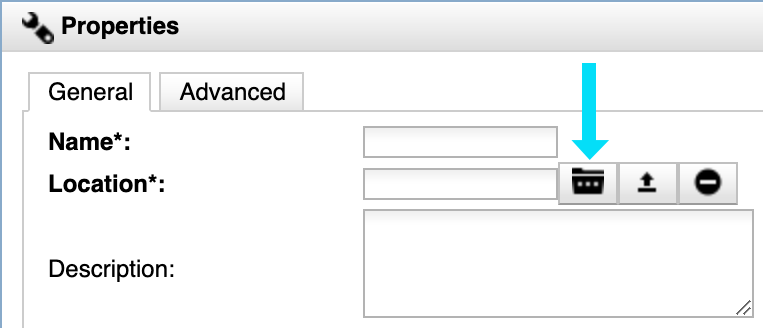
In the location dialogue click on the 'Cloud Library' tab and choose the cloud playlist from your library.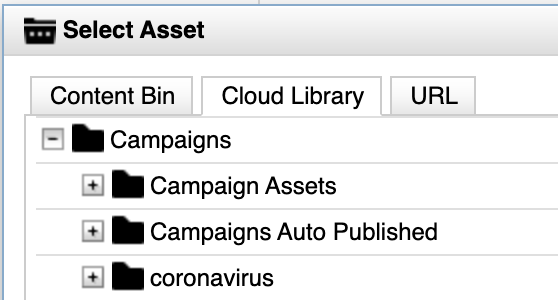
Note: Contrary to FWI Cloud, Content Manager Web does not save your work automatically, so its a good idea to save your work often. - Drag the new content feed item to the main content region of the template for any sign and then click on the [Save and Deploy] button in the upper left of the screen, which looks like a rocket ship. Note: Use Content Manager Playlists to deploy multiple signs at once. See this article for more info.
Now that you've successfully deployed your new cloud playlist using the content feed item, all the updates made to your cloud playlist in your FWI Cloud library will automatically update on your signs without the need to redeploy from Content Manager Web.

