Live Data is used to display data feeds (such as Live Whale Calendar, or IU News) and is among our recommended content types. It can convert the raw text or code from a feed to be nicely formatted and styled to your liking. Creation of a new Live Data object is covered in the basics section. This article covers more advanced features of the Live Data content type. Users already familiar with JSON, XML or RSS data feeds will benefit in implementing Live Data content.
At the core of the Live Data content type is the Layout. With the Layout Editor you can determine the way the raw feed data is formatted, positioned, and styled in a template region. The region size is recognized by the software and this governs how many rows of info you can fit into the region area. In our best practices article, we recommend using a full screen approach for all content on a digital sign and Live Data is no different. For a full screen approach, the main content region usually occupies 100% of the screen real estate.
Layout Editor
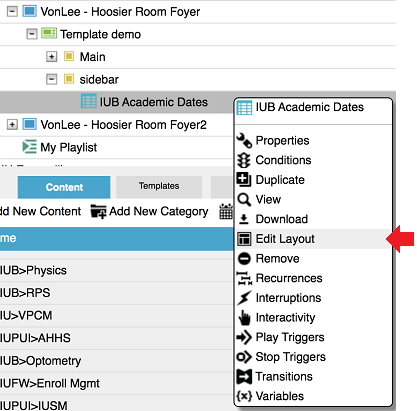
- Right-click the content type and select . You can also edit the properties of your content type and click the ellipsis button to the right of the "Layout" field.
- The "Layout" window opens.
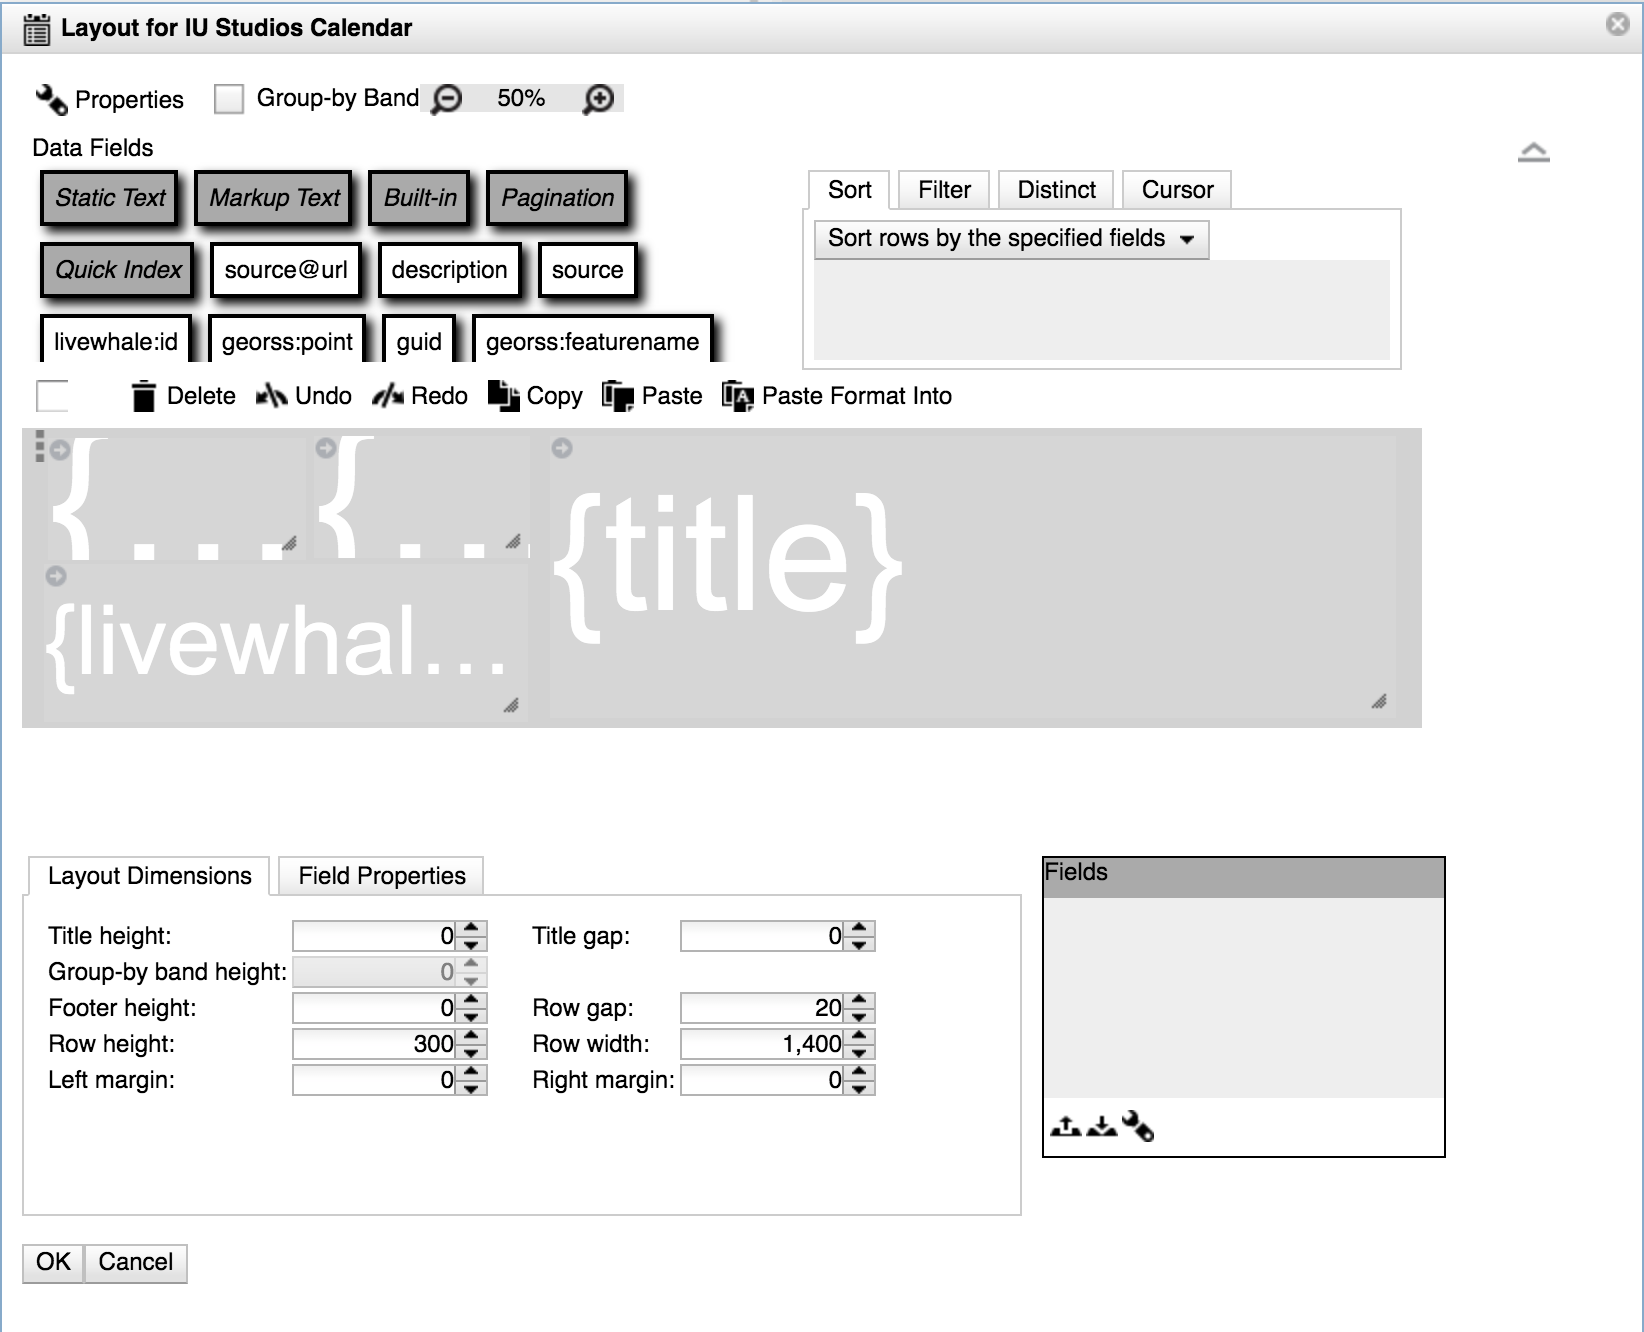
- Zoom in and out of the Layout Editor by clicking the plus () or minus () magnifying icons.
- The "Data Fields" section are gray colored fields. These are static fields that allow you to include custom content with any dynamic data.
- Under the "Data Fields" section is the Free Form layout. This is where you add the data fields to your layout. Free Form layout has two types of bands:
- Title Band: Useful for a header or a title.
- Row Band: Where most fields go in the layout.
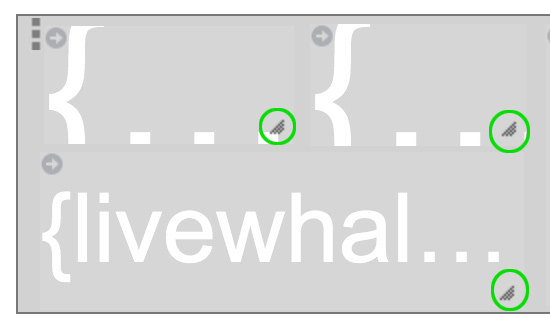
Click and drag data fields into the layout area. To resize fields, hover the mouse over the resize handles, and click and drag to the size you want.
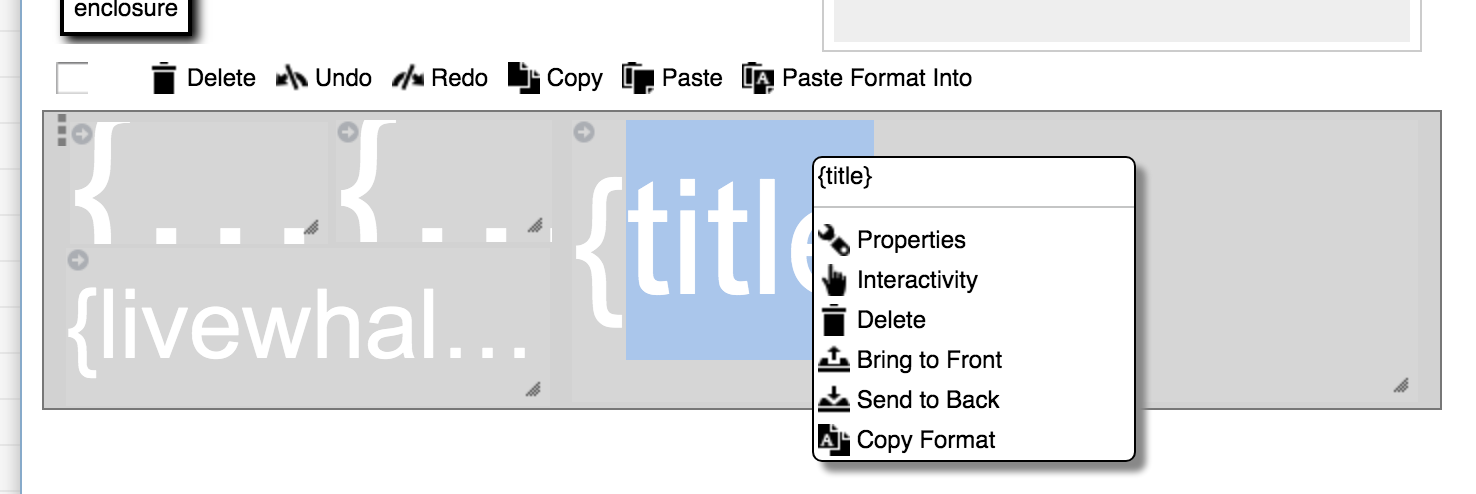
- To move a field, click and drag it to the new location. You can also position by X/Y coordinate by right-clicking and selecting .
- Below the layout area is the area for layout dimensions. If your content is assigned to a region in a template, the size of the row will determine how many articles in the feed will fit in that region. From there, you can resize the row height and width to change the number of articles as desired. For precise positioning and sizing of data fields, click the tab and enter the X/Y coordinates, width, and height.
- To change the format for a specific data field, use the data field inspector located to the right of the "Layout Dimensions/Field Properties" section.
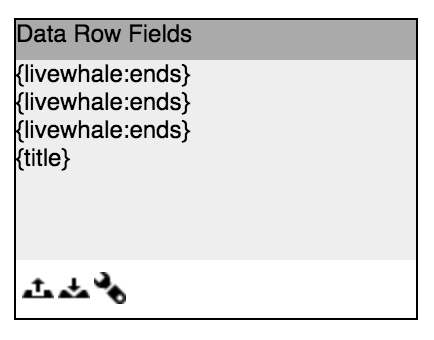
- Modify the front-to-back relationship of any fields by clicking the first two smaller icons on the bottom. To further modify the selected field in this box, click the third small icon (wrench). You'll see a pop-up window with more parameters such as text format, background location, and formatting that provide an abundance of styling options.
- Add fields and resize until you have your desired layout. Click and .

