Create paths after adding maps and plotting locations
Step 1
Click on Wayfinding and click Edit Locations. Then select Create Path.

Step 2
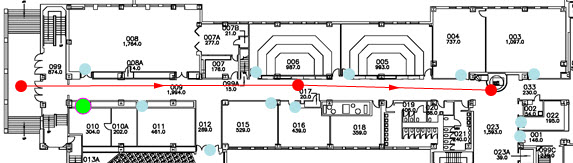
Draw the path by clicking on the beginning location. Click again to make a segment. Continue until you have the path you want. The path does not have to include the location points; it will detect the points as long as it is near the location.
Note: If you make a mistake, hold down the control key (or CTRL) and click on the segment you want to remove.
Step 3
Click Done.

Step 4
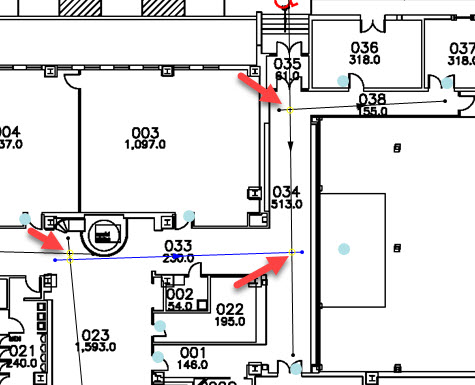
Continue creating paths. With multiple paths, ensure that any paths that intersect actually cross each other. You can see if the paths cross by viewing the intersections. There should be a faint yellow circle at each intersection. Wayfinding will not work correctly if the paths do not cross.
Step 5
If you need to remove a path, click on the path and select Delete Path.
Step 6
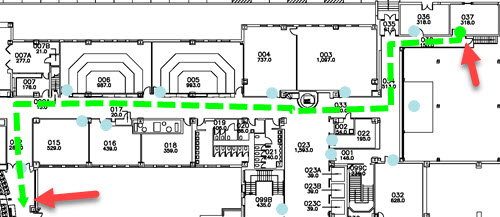
To ensure that the paths were created properly, you can test the route. Click on the destination point and click Test Route.

Step 7
A green dotted line should show the shortest route from the You Are Here point to the selected destination.