

Plot locations on your map
After adding a map and the You Are Here beacon, plot the desired locations on your map.
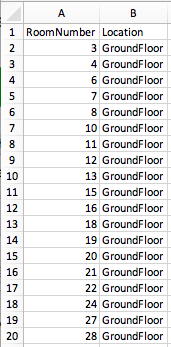
Prior to adding locations, it is recommended that you have a .csv file created with the Room information/Room numbers you need. In this example we will have a column called RoomNumber. Having this ready will help with interactivity.
Step 1
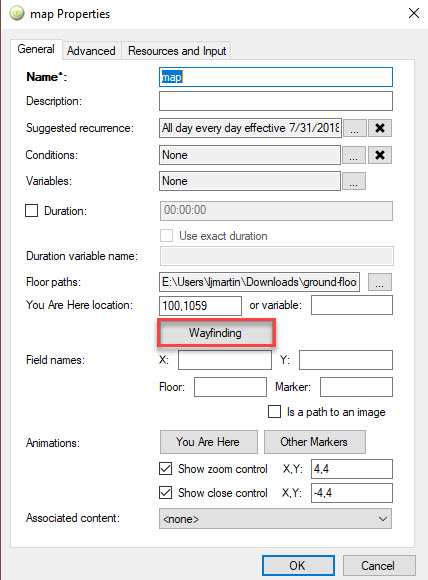
In Map Properties, click Wayfinding.
Step 2
In Wayfinding, select Edit Locations.

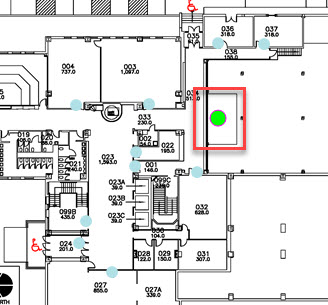
Step 3
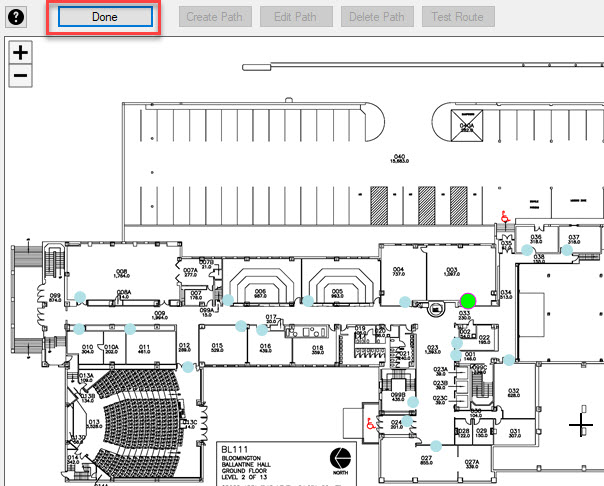
With the mouse, click on the areas of the map where the map points will be. Typically the location points are at doorways. To remove a location, hold down the control key (or CTRL) and click on the location.
Step 4
After adding locations, click Done. The location points/coordinates will display on the right-hand pane.
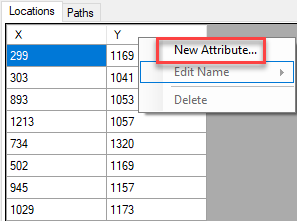
Step 5
In the location list, click on the header and select New Attribute.
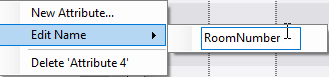
Step 6
Go to Edit Name and add the column header from your spreadsheet. In this example it is RoomNumber.
Step 7
For each location point, add the name in the new column. In this example the room numbers are added in the RoomNumber column.
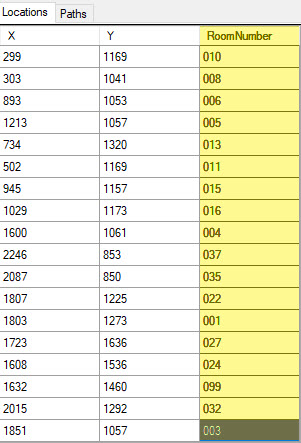
Step 8
Continue adding location names until all the coordinates are complete. Right click to remove an entry. Drag and drop to rearrange entries.
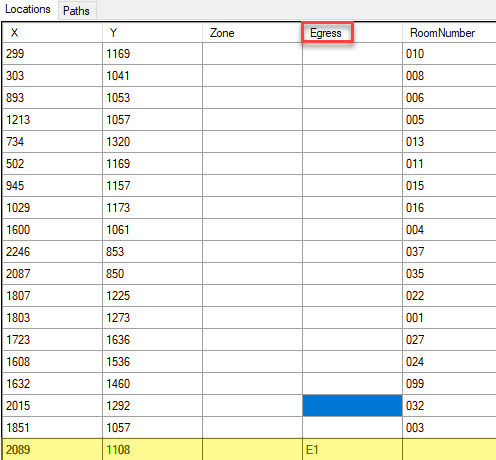
Step 9
In the Wayfinding edit, check the box for Show Extended Attributes. The Zone and Egress columns will display.

Step 10
For Egress entries, select a location to serve as an egress such as a stairwell, elevator, or exit. In the table, label the location with a unique name, such as E1.
Note: For wayfinding for multiple floors to work properly, stairwells and elevators should have corresponding egress names. For example, a stairwell that goes from the first floor to second floor should have the label of E1 on both floors.
Step 11
Repeat the location plotting for other floors as applicable.